

Godox G1 Firmware Software: Godox G1 Firmware Update Software (version 0.4)
Godox G2 Firmware Software: Godox G2 Firmware Update Software (version 0.1)
Godox G3 Firmware Software: Godox G3 Firmware Update Software (version 1.1)
Godox use various methods to access and display the firmware version currently installed on their flashes and radio triggers.
X1T: Turn device OFF. Hold the MODE button, and turn the device ON. Firmware version is displayed.
X1R: Turn device OFF. Hold the GR button, and turn the device ON. Firmware version is displayed.
XT-32: Turn device OFF. Hold the MODE button, and turn the device ON. Firmware version is displayed.
XPro-C: Press the “MENU” button to enter the menu, and the firmware update version (e.g. Version 1.4) will be displayed on the LCD panel.
AD360II: Press the C.Fn button and the firmware version is displayed at the top right corner.
V860IIC: Press the C.Fn button and the firmware version is displayed at the top right corner.
V860IIIC: Press the “MENU” button to enter the C. Fn menu. The top right-hand corner of the screen will show Ver x.x
V1C: Press the “MENU” button to enter the C. Fn menu. The top right-hand corner of the screen will show Ver x.x
AD200: Turn device OFF. Hold the MODE button, and turn the device ON.
AD300Pro: Turn device OFF. Hold the MODE button, and turn the device ON.
AD600B / AD600BM: Press the Menu button and the firmware version is displayed at the top right corner. To update new firmware please remove the battery pack first and then turn the power button on to drain the remaining power. The unit is now ready to update the firmware with the Godox G1 firmware updater software.
Latest firmware update: (as of 26.05.2024)
Godox G1 firmware updater:
Device Connection
1.Please discharge the device before upgrading.
->AD600 series: Remove the battery and press the OFF/ON button for 2 seconds.
->AD360II series: Disconnect from the PB960 power pack and press the OFF/ON button for 2 seconds.
->Other models: Turn it off and press the test button.
2. Use the USB connection line, with one end connected to the firmware update USB port on the product and with the other end connected to the USB socket of your PC.
For the first firmware update, Windows will prompt you to install a driver named "Godox_usb". Please click "Connect" after finishing the driver installation.
V860IIC Firmware V1.8
X1T-C Firmware V27
X1R-C Firmware V18.1
XT32-C Firmware V.17
AD360II-C Firmware V2.8
AD600B TTL Firmware V2.6
Godox G2 firmware updater:
AD200 Firmware v2.5
AD600Pro Firmware V1.8
XPro-C Firmware V2.0
Godox G3 firmware updater:
AD200Pro Firmware V1.5
AD300Pro Firmware V1.2
AD400Pro Firmware V1.3
V1C Firmware V1.9
V860IIIC Firmware V1.3
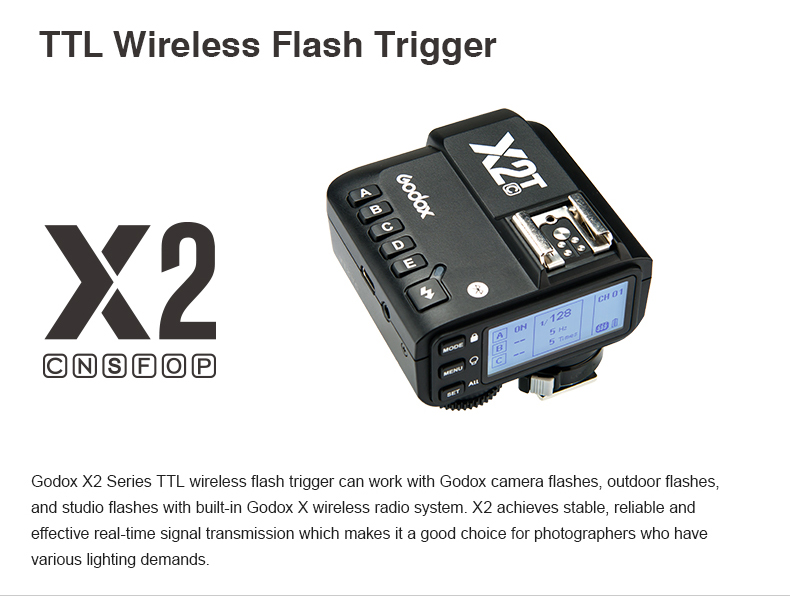
X2TC Firmware V1.4
XProII-C Firmware V1.4
X3-C Firmware V1.09
Homepage: http://www.godox.com/firmware-flash/


