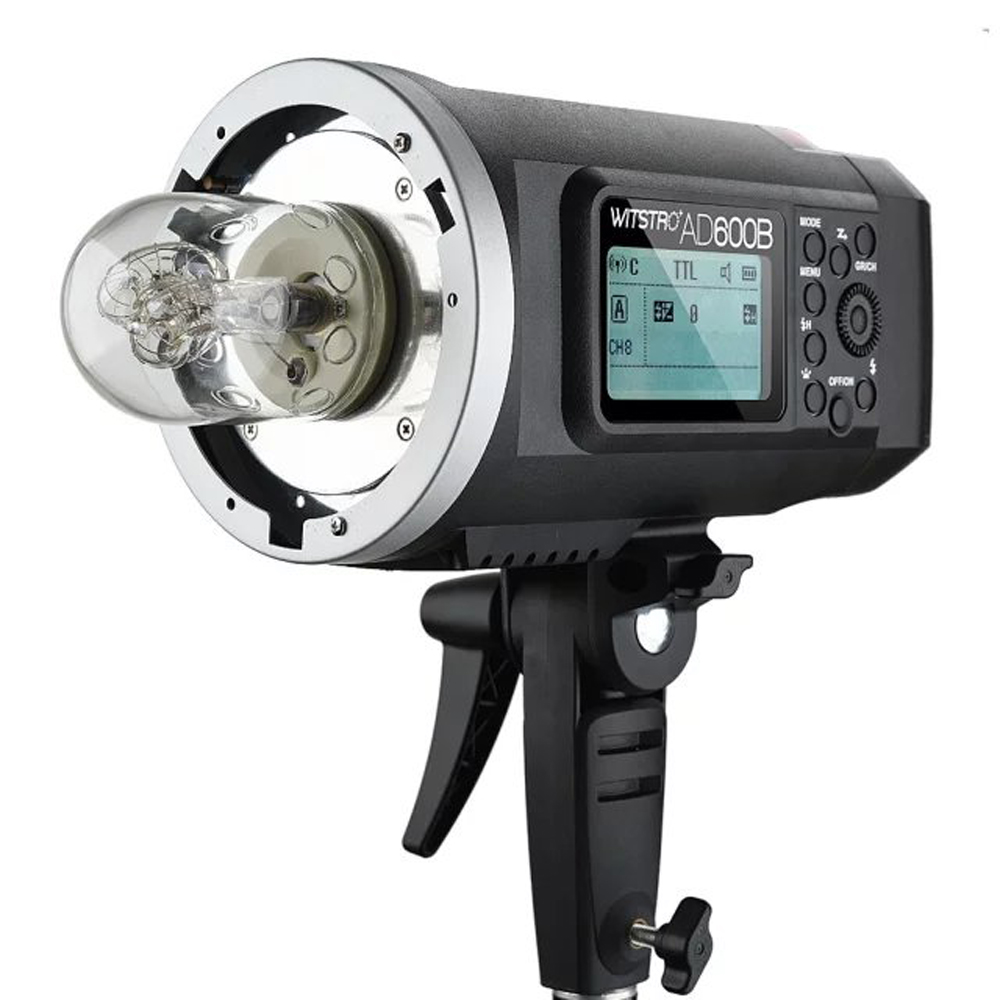
Godox Witstro AD600B TTL with Bowens mount
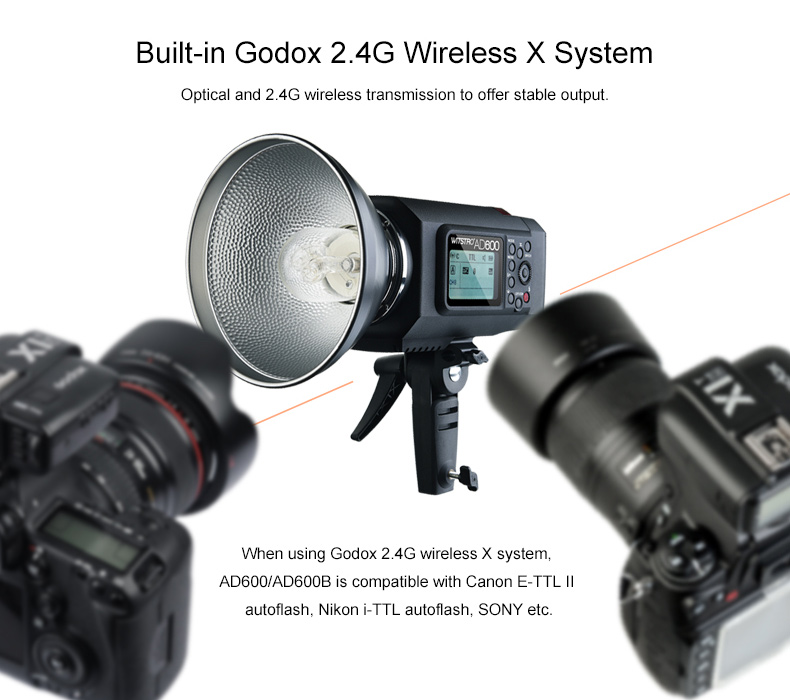
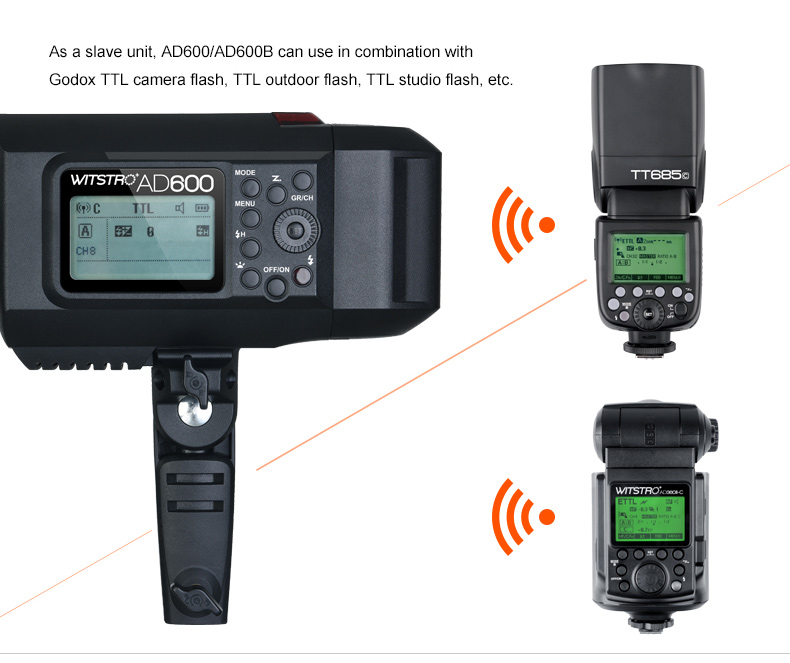
The Godox AD600 Witstro is an all in one 600WS Lithium-ion powered TTL and HSS enabled portable strobe, with Canon, Nikon. Sony, Fuji, and M4/3, compatible 2.4GHz radio receiver units built inside. The AD600B can be controlled with full TTL, HSS, and Remote Manual power control via the 2.4GHz Godox X1 transmitter units, or master speedlite units like the V860II, TT685, and TT350 speedlites. Both TTL, and Manual / HSS, versions of the AD600 are available, though in the USA the TTL version is only available exclusively from Adorama under the Flashpoint XPLOR 600 TTL branding.
Features
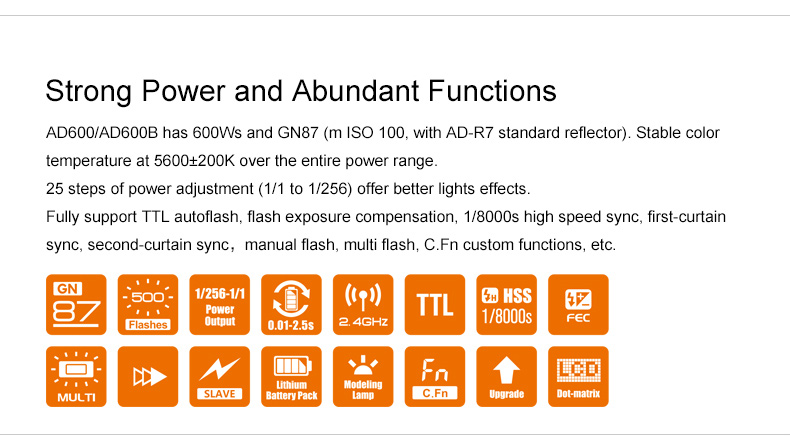
- Powerful 600Ws
- Fan Cooled
- 10W LED Modelling Light (Adjustable)
- Optional Remote Head (600Ws & 1200Ws Options)
- Bowens S-type Mount
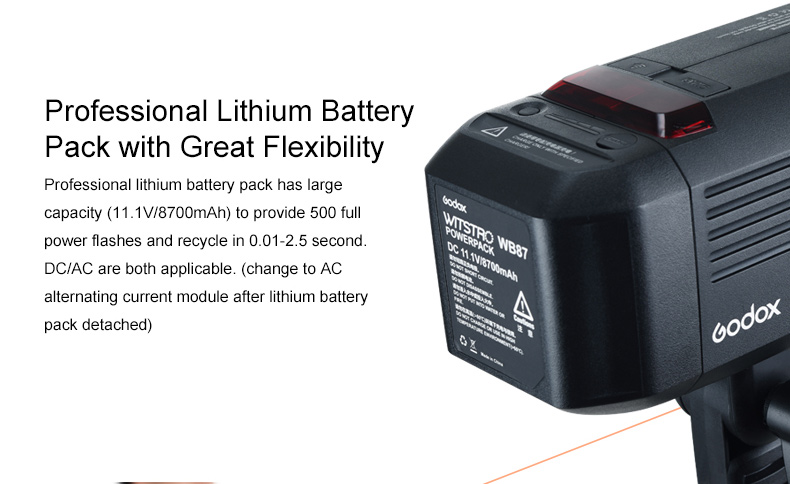
- Built in (removable) 11.1V / 8700mAh Lithium-ion Battery
- Up to 500 Full Power Pops Per Battery Charge
- 0.01 – 2.5 Seconds Recycle Time
- Flash Modes – TTL / M / Multi
- HSS to 1/8000th
- Second Curtain Sync
- FEC / FEB – 1/3rd Increments (±3 Stops)
- FEL (Flash Exposure Lock)
- Manual Flash – 1/256 – 1/1 Output (1/3rd Increments)
- Godox 2.4GHz X Radio System
- Canon, Nikon. Sony, Fuji, M4/3, Radio Slave Modes (Auto Switching)
- Range – 100m + with X1 as Transmitter
- Groups – A / B / C / D / E
- 32 Channels
- Supports Legacy Godox FT-16 Remote Manual Trigger System
- Supports Godox XT-16 / XT32 Remote Manual Trigger System
- Canon & Nikon Optic Wireless Slave Modes
- Groups – A / B / C
- 4 Channels
- S1 & S2 Optic Slave Modes
- Flash Duration – 1/220s-1/10000s
- Large Dot Matrix LCD Display
- Custom Functions
- Auto Memory Function
- Micro USB Port for Firmware Upgrades
- USB Communication Port (For FTR-16 & XTR-16 Receivers)
- 3.5mm Sync Port
The AD600B’s removable 11.1V / 8700mAh Lithium-ion battery provides a health 500 full power flashes from one charge. And the complete strobe in the cordless configuration weighs approximately 2.9kg.
Accessories
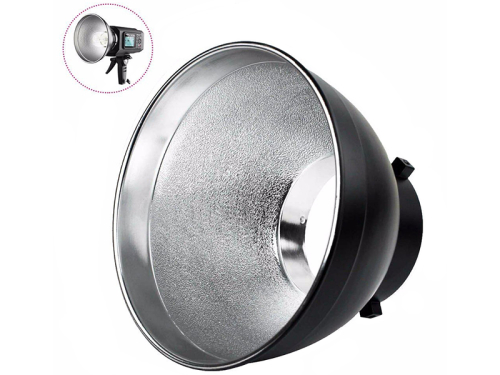
Reflector 60°/18 cm (Godox AD-R6 Standard Reflector)
Remote head (Godox AD-H600B )
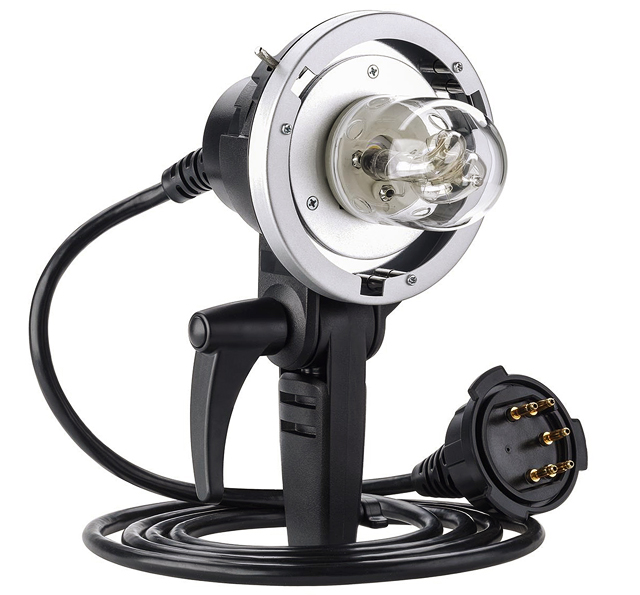
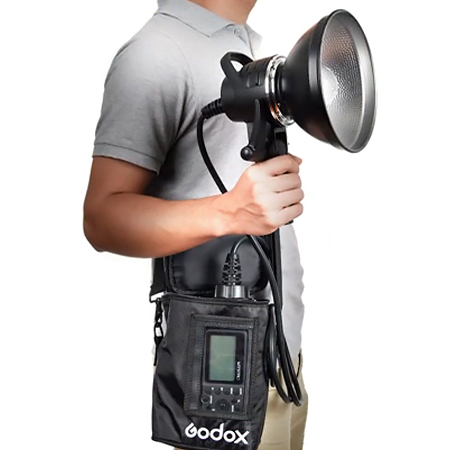
The AD600B also provide the option of a lightweight remote head, making the strobe exceptionally versatile. A soft case and shoulder strap then provide support for the strobe. The remote heads will be available in both Bowens and Godox mounts, and in 600Ws and 1200Ws versions – AD-H600B / AD-H1200B, and AD-H600 / AD-H1200. To achieve the 1200Ws output two strobes will be attached to the one 1200Ws head via a 2 into 1 adapter cable.
The remote head is enabled via a cord which plugs into the strobe flash tube socket, acting as an extension cord between the strobe and remote flash tube.
Godox G1 Firmware Software: Godox G1 Firmware Update Software (version 0.4)
Godox G2 Firmware Software: Godox G2 Firmware Update Software (version 0.1)
Godox G3 Firmware Software: Godox G3 Firmware Update Software (version 1.1)
Godox use various methods to access and display the firmware version currently installed on their flashes and radio triggers.
X1T: Turn device OFF. Hold the MODE button, and turn the device ON. Firmware version is displayed.
X1R: Turn device OFF. Hold the GR button, and turn the device ON. Firmware version is displayed.
XT-32: Turn device OFF. Hold the MODE button, and turn the device ON. Firmware version is displayed.
XPro-C: Press the “MENU” button to enter the menu, and the firmware update version (e.g. Version 1.4) will be displayed on the LCD panel.
AD360II: Press the C.Fn button and the firmware version is displayed at the top right corner.
V860IIC: Press the C.Fn button and the firmware version is displayed at the top right corner.
V860IIIC: Press the “MENU” button to enter the C. Fn menu. The top right-hand corner of the screen will show Ver x.x
V1C: Press the “MENU” button to enter the C. Fn menu. The top right-hand corner of the screen will show Ver x.x
AD200: Turn device OFF. Hold the MODE button, and turn the device ON.
AD300Pro: Turn device OFF. Hold the MODE button, and turn the device ON.
AD600B / AD600BM: Press the Menu button and the firmware version is displayed at the top right corner. To update new firmware please remove the battery pack first and then turn the power button on to drain the remaining power. The unit is now ready to update the firmware with the Godox G1 firmware updater software.
Latest firmware update: (as of 26.05.2024)
Godox G1 firmware updater:
Device Connection
1.Please discharge the device before upgrading.
->AD600 series: Remove the battery and press the OFF/ON button for 2 seconds.
->AD360II series: Disconnect from the PB960 power pack and press the OFF/ON button for 2 seconds.
->Other models: Turn it off and press the test button.
2. Use the USB connection line, with one end connected to the firmware update USB port on the product and with the other end connected to the USB socket of your PC.
For the first firmware update, Windows will prompt you to install a driver named "Godox_usb". Please click "Connect" after finishing the driver installation.
V860IIC Firmware V1.8
X1T-C Firmware V27
X1R-C Firmware V18.1
XT32-C Firmware V.17
AD360II-C Firmware V2.8
AD600B TTL Firmware V2.6
Godox G2 firmware updater:
AD200 Firmware v2.5
AD600Pro Firmware V1.8
XPro-C Firmware V2.0
Godox G3 firmware updater:
AD200Pro Firmware V1.5
AD300Pro Firmware V1.2
AD400Pro Firmware V1.3
V1C Firmware V1.9
V860IIIC Firmware V1.3
X2TC Firmware V1.4
XProII-C Firmware V1.4
X3-C Firmware V1.09
Homepage: http://www.godox.com/firmware-flash/